
When Jenny Beth from Life on Lyford expressed an interest in guest posting, I had no idea she would blow-us-away with this fantastic reupholstery project!
Hello all, My name is Jenny Beth I am so excited to be with y'all here at Cheap Chic Home.
Now, let's see... where to start.
Oh yes, we bought a foreclosed home in Apri 2009 and have been fixing up since then.
We went from this ....


We are slowly making it through our space one room at a time, my most recent project was finishing my daughter's room.
Here is the reading nook we created!!
We found the plans for the shelf at Ana White.

As you can see we are still putting the finishing touches on this room.

But what I really came to share with you was my "what I wanted to learn teach myself in 2011."
It's Upholstry!!!
You see my neighbor placed this lovely club chair by the curb last spring and I just couldn't let it remain sitting there.

As you can see, I was very eager about starting this project, so a piece here and there was taken off pre-photo.
These pieces on the arms were removed first.

Then I started a corner in the back and kept on going.
At some point I had to cut the fabric because it was in such poor condition all it would do was start crumbling.

The only tools I used at this point were a pair of needle nose pliers...

And a pair of wire cutters, they were great for really deep staples as the point could begin working the staple out.


once the top arm piece was removed I worked the outer sides off.

Until everything was gone
So order of removal was back, outer sides, insides, then front and back.
Notice the orange foam?? It was dry rotted, so I grabbed a bag of rolled batting to fill in over the springs.

removed the dry rotted orange foam.

Then I laid out all my saved pieces and used them as my pattern to cut the new pieces.

Laid out the new batting

I knew the arms would be fairly difficult so after cutting the front and tucking it in I began with the inner arms.
**note to get the fabric to tuck into the bottom cushion and on the sides sometimes you will need to sit on the chair with your knee's to depress the springs and work the fabric to the back of the chair.

Then Grab your stapler, (I don't think an electric is a must but it surely helped!!) and don't forget to notch your curves so the fabric will lay flat.

This is notching.

On the outside pieces I flipped the fabric right sides together and began stapling from the underneath side, from time to time I used the hammer to work some of the more stubborn staples in.

Then I pulled a staple or two out and began on the arm.
.
Lesson 1. this is TRULY a trial and error process!!

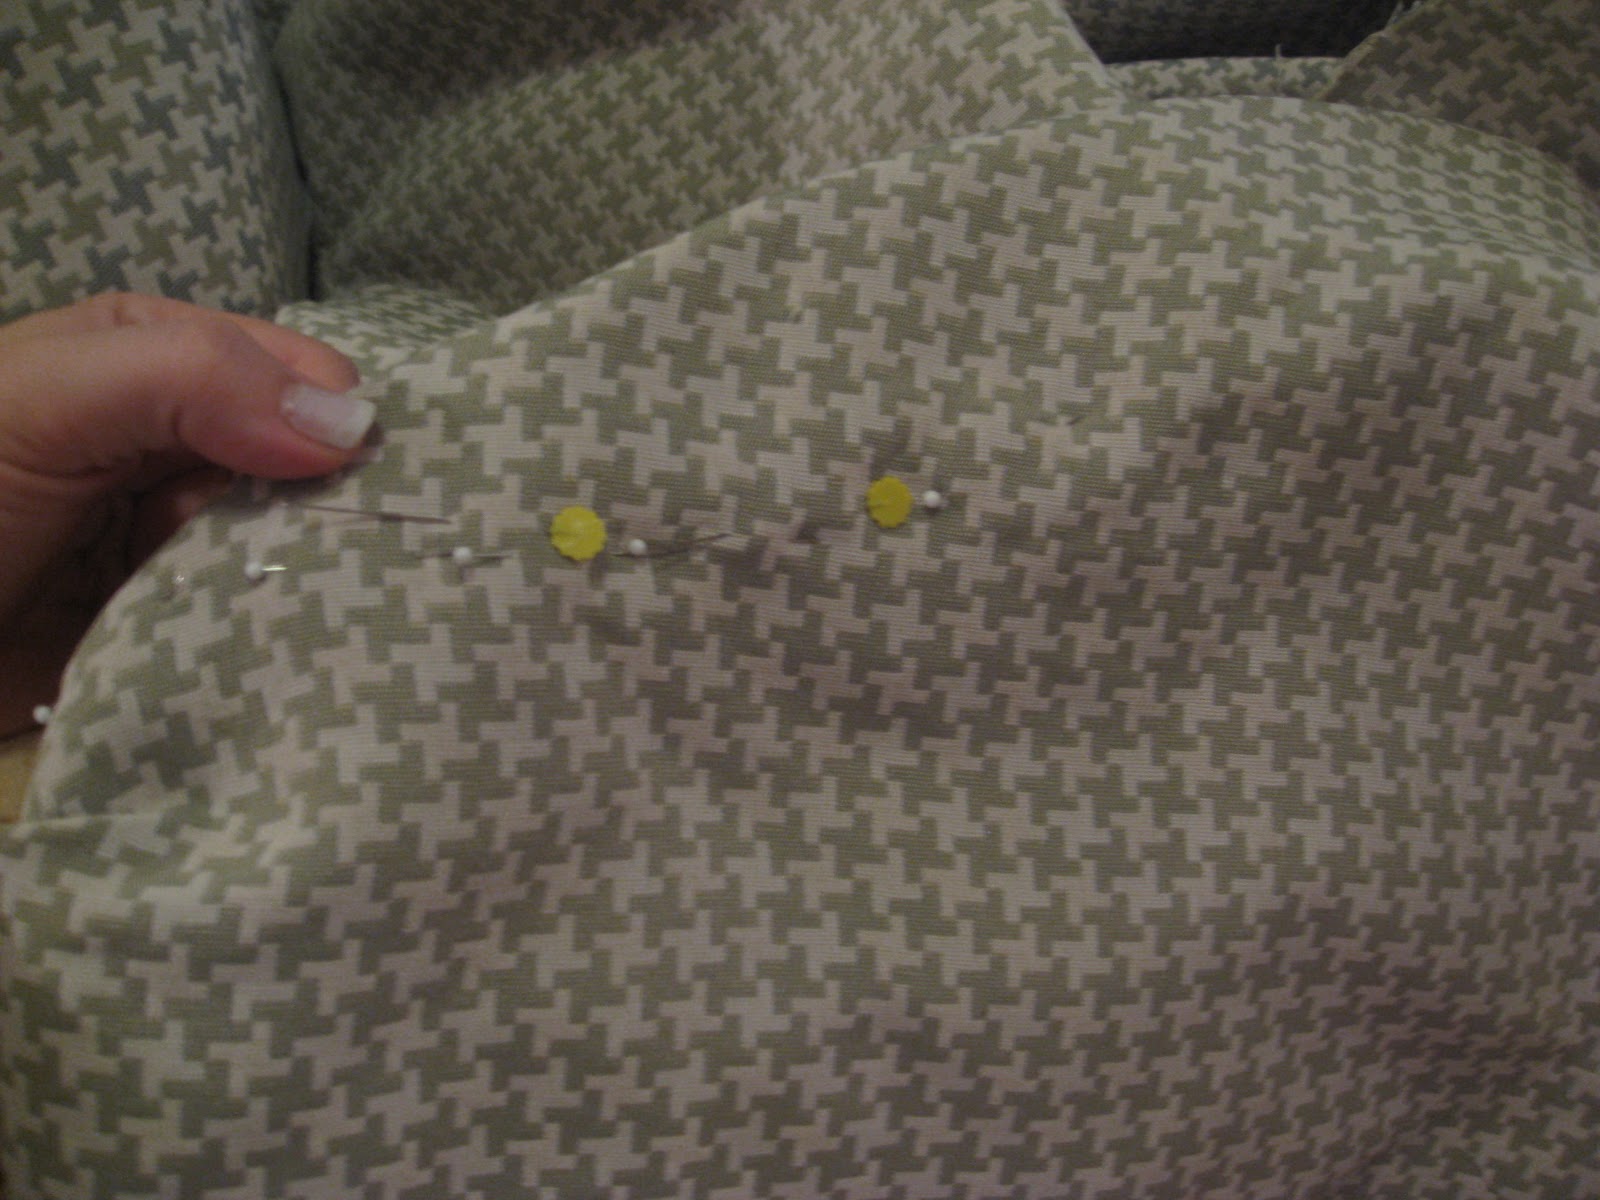
On the front seat I laid the fabric out and placed pins along the front corners of the chair to sew a very simple 6 " dart for better fitting.
Don't forget to cut excess fabric out before you attach to chair.
Then you simply attach in the back of the chair

Work your back piece on.
**note:When taking the chair apart I kept all the card board sheets and metal sheets I found inside the chair.

Here is where you will need to use some of the interior metal stripping, if any.
The big long pieces I used along the sides in the back of the chair; this added the nice straight line to make the fabric pull taught!!
Then sit back and admire your creation!!

Thanks for letting me share today Kim!!
Gosh, Jenny Beth, you made this look (almost) easy. I really like the blue pom pom throw and patterned pillow you accessorized it with - fabulous job! Don't forget to visit her blog, Life On Lyford.
Wow, she did make it look easy and I know it would not be for me. What a great looking chair.
ReplyDeleteGreat job. Amazing what a person can do when they are determined!
ReplyDeleteNice Job. It looks like it was a lot of work. I have not done anything like that before.
ReplyDeleteThanks for guest posting! Now I'm thinking that I can do this! I will at least have to try!!!
ReplyDeleteYour chair looks beautiful!
Love it when someone just takes an upholstery job on like that! I prefer to learn by doing as well!
ReplyDeleteAnd thank you for the encouraging comment you left on my blog! It's sincerely appreciated!
Emily